Table of Contents
ToggleBasements have come a long way from being dark storage spaces. With the right lighting, that lower level can become a home theater, guest suite, workshop, or entertainment zone. Recessed lighting is the go-to solution for basements, it provides even, shadow-free illumination without eating up precious ceiling height. But installation isn’t as simple as punching holes and wiring fixtures. Building codes, joist placement, insulation contact ratings, and proper spacing all factor into a successful install. This guide walks through everything a homeowner needs to know to plan, choose, and install recessed lighting in a basement, whether tackling the project solo or prepping for a pro.
Key Takeaways
- Basement recessed lighting preserves ceiling height and provides shadow-free, even illumination—ideal for converting lower-level spaces into functional living areas like home theaters, guest suites, or workshops.
- Plan your basement recessed lighting layout by measuring joist direction, ceiling height, and intended use; space fixtures 4 feet apart for 8-foot ceilings and arrange in a grid pattern to avoid uneven light pools.
- Choose IC-rated recessed housings if insulation is present above the ceiling to prevent fire hazards, and select 6-inch fixtures for general basement lighting with warm color temperatures (2700K–3000K) for relaxation spaces.
- Proper installation requires shutting off power, running NM-B cable between housings, and following NEC guidelines—typically no more than 12 fixtures on a 15-amp circuit—before testing and scheduling code inspections.
- Avoid common mistakes like skipping IC ratings, ignoring joist spacing, mixing color temperatures, or forgetting GFCI protection near wet areas to ensure safety, code compliance, and professional lighting results.
Why Recessed Lighting Is Perfect for Basements
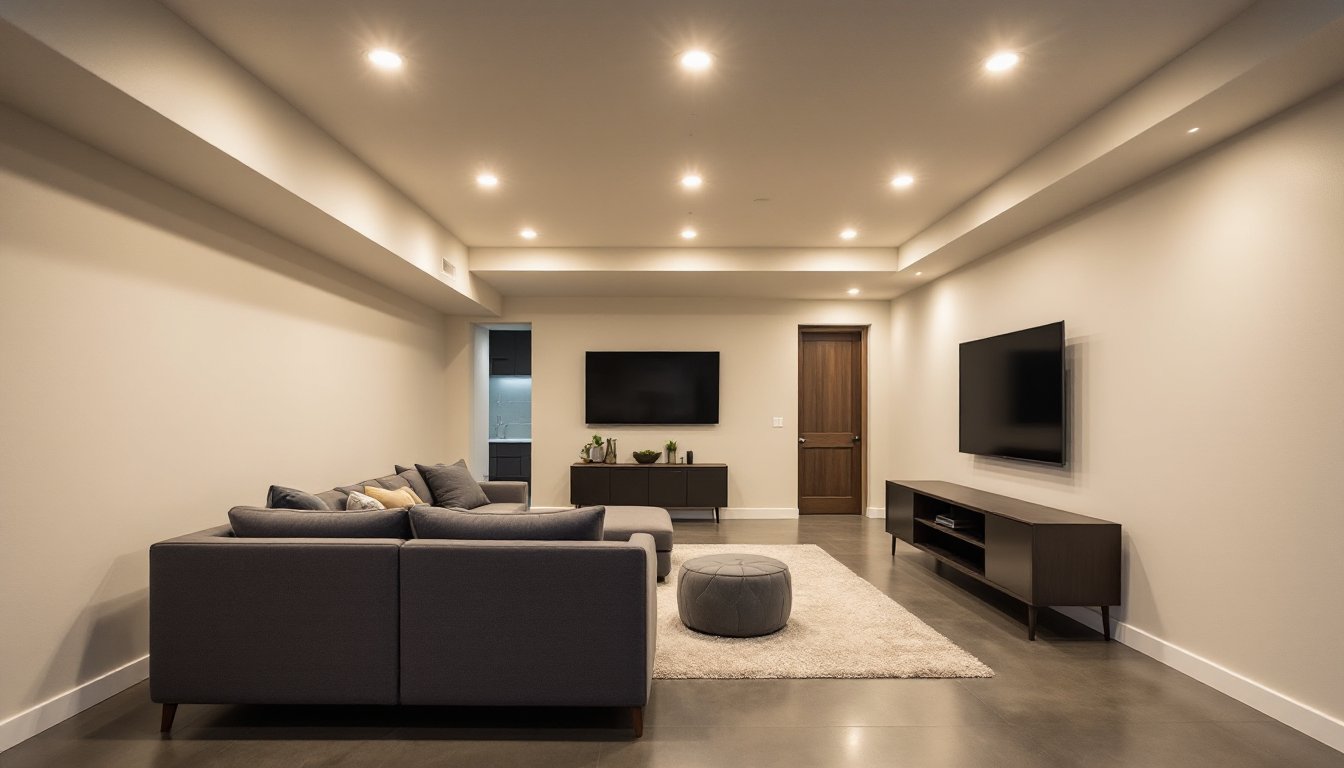
Basements typically have lower ceiling heights than the rest of the house, often 7 to 8 feet, sometimes less. Hanging fixtures or ceiling fans can make the space feel cramped or create headroom issues. Recessed lights, also called can lights or downlights, sit flush with the ceiling, preserving every inch of vertical space.
They also solve the problem of exposed joists or drop ceilings. In unfinished or partially finished basements, recessed fixtures integrate cleanly into drywall or suspended ceiling grids without drawing attention to structural quirks. And because they’re sealed units, many models are rated for direct contact with insulation (IC-rated), which is critical in basements with heated living space above.
Another advantage: flexibility. Recessed lights can be dimmed, zoned, or fitted with directional trims to highlight specific areas, a bar counter, workout zone, or reading nook. Unlike a single ceiling fixture that creates harsh shadows, a grid of recessed lights delivers balanced ambient lighting across the entire room.
Finally, modern LED recessed fixtures are energy-efficient and long-lasting. A basement might stay lit for hours during game nights or movie marathons, and LEDs keep energy costs low while producing minimal heat, a plus in enclosed spaces with limited ventilation.
Planning Your Basement Recessed Lighting Layout
Good lighting starts with a plan. Walk the basement and note ceiling height, joist direction, existing wiring, and how the space will be used. A finished basement living area has different lighting needs than a laundry room or workshop.
Ceiling height dictates beam spread. A standard 8-foot ceiling works well with 4-inch or 6-inch recessed fixtures spaced 4 to 5 feet apart. Lower ceilings benefit from wider beam angles to reduce hot spots. Taller ceilings (9+ feet) may need larger housings or adjustable trims to direct light downward.
Joist direction matters because housings must fit between joists. Standard joist spacing is 16 inches on center, but some basements use 24-inch spacing. Measure and map joist locations before finalizing the layout, retrofitting around blocking or ductwork is a hassle.
Consider task vs. ambient lighting. Ambient lighting provides overall illumination: task lighting focuses on specific work areas. A basement with a home office might need tighter spacing over the desk, while a media room benefits from dimmable perimeter lighting.
Determining Spacing and Quantity
A common rule of thumb: divide ceiling height by two to get spacing in feet. For an 8-foot ceiling, space lights roughly 4 feet apart. For even coverage, arrange fixtures in a grid pattern, keeping them 2 to 3 feet from walls to avoid scalloping (uneven light pools on vertical surfaces).
To calculate quantity, sketch the room to scale and overlay a grid. A 12×16-foot basement with 4-foot spacing might need 12 to 15 fixtures depending on layout and furniture placement. Online recessed lighting calculators can help, but nothing beats a scaled drawing.
Don’t forget zoning. Putting all lights on one switch can be overkill. Break the basement into zones, entertainment area, stairwell, utility corner, and wire each zone to its own dimmer or switch. Smart switches or dimmers add flexibility for movie nights or parties.
If the basement has a drop ceiling or exposed joists, retrofitting is easier. For drywall ceilings, plan access carefully. Running wire through finished ceilings may require cutting holes and patching, so coordinate the lighting layout with any other electrical work (outlets, data lines) to minimize repairs.
Choosing the Right Recessed Lights for Your Basement
Not all recessed lights are created equal. The wrong choice can create code violations, fire hazards, or poor light quality.
Housing type is the first decision. New construction housings are designed for open ceilings and nail directly to joists. Remodel housings use clips to grip finished drywall from below, ideal for basements with existing ceilings. If insulation sits above the ceiling, choose IC-rated housings to prevent overheating.
In rare cases, basements in flood-prone areas or near showers may need wet-rated or damp-rated housings. Standard housings are fine for dry, climate-controlled spaces.
Size matters. Four-inch cans are compact and good for accent lighting or tight joist bays. Six-inch fixtures are the workhorse for general lighting in most basements. Larger sizes (8-inch) suit high ceilings but are overkill for typical basement heights.
LED integrated vs. retrofit kits: Integrated LED housings have the light source built in, no separate bulb. They’re efficient and last 20+ years, but when the LED dies, the whole housing is replaced. Retrofit kits or compatible trim rings allow swapping bulbs, offering flexibility if color temperature preferences change.
For design principles for placement, consider color temperature. Basements used for relaxation (media rooms, guest bedrooms) benefit from warm white (2700K–3000K). Workshops or craft areas need cooler daylight (4000K–5000K) for task visibility.
Beam angle affects coverage. Narrow spots (15–30 degrees) highlight artwork or architectural details. Wide floods (60–120 degrees) spread light evenly for ambient coverage. Most basement applications call for flood or wide-flood trims.
Finally, check for Title 24 or Energy Star compliance if local codes require it. Many jurisdictions now mandate high-efficacy lighting (lumens per watt) in new installs or major renovations.
Step-by-Step Installation Process
Before cutting a single hole, check local codes and permits. Electrical work often requires a permit and inspection, especially if adding new circuits. Some jurisdictions allow homeowner installs: others require a licensed electrician. When in doubt, call the building department.
Safety first: Shut off power at the breaker and verify with a non-contact voltage tester. Wear safety glasses when drilling overhead, and use a dust mask if cutting through old drywall or insulation.
Materials and tools:
- Recessed light housings (IC-rated if needed)
- Compatible trims (baffle, reflector, or gimbal)
- 14/2 or 12/2 NM-B cable (depending on circuit amperage)
- Wire connectors, junction boxes (if required)
- Drywall saw or hole saw (size matched to housing)
- Drill, fish tape or wire snake
- Stud finder, tape measure, pencil
- Voltage tester, wire strippers, screwdrivers
Step 1: Map and mark fixture locations. Use a stud finder to locate joists. Mark each light position with a pencil, ensuring housings fit between joists. Double-check spacing and symmetry.
Step 2: Cut ceiling holes. For remodel housings, trace the template (usually included) and cut with a drywall saw or appropriate hole saw. For new construction, install housings before hanging drywall.
Step 3: Run electrical cable. If the basement is unfinished or has attic access above, running wire is straightforward. For finished ceilings, fish cable through the ceiling cavity from the switch location to each fixture. Installing recessed lights in ceilings often requires a helper to guide wire through tight spaces.
Connect fixtures in series (daisy-chain) or home-run each to a central junction box, depending on circuit design and code. Follow NEC guidelines: typically, no more than 12 fixtures on a 15-amp circuit or 16 on a 20-amp circuit, accounting for other loads.
Step 4: Connect housings. Strip cable sheathing, connect black (hot) to black, white (neutral) to white, and bare copper (ground) to the green grounding screw or wire. Use twist-on wire connectors and secure connections with electrical tape. Tuck wires into the housing junction box and tighten any cable clamps.
Step 5: Secure housings. Remodel housings have spring clips or brackets that grip the drywall. Push the housing into the hole until clips engage. New construction housings nail or screw to joists.
Step 6: Install trims and bulbs (if applicable). LED retrofit kits or screw-in modules snap or twist into place. Integrated housings may just need the trim ring clipped in.
Step 7: Restore power and test. Flip the breaker, turn on the switch, and verify each fixture lights up. If any fixture doesn’t work, shut off power and check connections.
Inspection: If a permit was pulled, schedule the rough-in and final inspections before closing up walls and after installation is complete.
Note: If the basement has a drop ceiling, use housings designed for suspended grids. These rest on the grid framework and don’t require cutting or permanent mounting.
Common Mistakes to Avoid with Basement Recessed Lighting
Skipping the IC rating: If insulation is present above the ceiling, non-IC housings can overheat and create a fire hazard. Always match the housing to the environment.
Ignoring joist direction: Trying to install a 6-inch housing in a 16-inch joist bay perpendicular to the joists won’t work. Measure and plan before buying.
Overlighting or underlighting: Too many fixtures waste energy and create glare. Too few leave dark corners. Stick to spacing guidelines and consider dimmers for flexibility.
Mixing color temperatures: Installing 3000K in one zone and 5000K in another creates a disjointed look. Pick one color temp for the entire basement, or at least per functional area.
Poor wire management: Loose connections, undersized wire, or overloaded circuits are code violations and safety risks. Use proper gauge wire (14 AWG for 15-amp, 12 AWG for 20-amp) and secure all connections.
Forgetting GFCI protection: If recessed lights are installed near a wet bar, sink, or bathroom area, some codes require GFCI protection. Verify local requirements.
Not accounting for furniture or walls: Placing a light directly over where a couch or shelving unit will sit wastes the fixture. Mock up the furniture layout before finalizing the grid.
Cutting corners on trims: Cheap trims can rattle, discolor, or create uneven light. Invest in quality trims that match the housing and application. Baffle trims reduce glare: gimbal trims allow directional adjustment.
For spaces with unique ceiling features, understanding recessed lighting options can prevent costly missteps and ensure the finished result meets both code and aesthetic goals.
Conclusion
Recessed lighting transforms a basement from a dim afterthought into a functional, inviting space. With careful planning, the right fixtures, and attention to code, homeowners can achieve professional-quality results. Whether installing a full grid for a family room or adding task lighting over a workbench, the principles stay the same: measure twice, choose appropriate housings, and wire safely. The effort pays off in years of reliable, even illumination and a lower level that finally lives up to its potential.


