Table of Contents
ToggleRecessed lighting transforms a room from flat and dated to polished and modern, all while hiding the fixtures themselves in the ceiling. Also called can lights or downlights, these fixtures provide clean, focused illumination without eating up visual space. Installing them yourself is manageable if you’re comfortable with basic electrical work and have access to the ceiling cavity, either from above (attic space) or below (cutting into drywall). This guide walks through the process from planning to final connection, covering both new construction and retrofit installations. Before starting, check local codes: most jurisdictions require a permit for new electrical circuits, and some require a licensed electrician for final connections.
Key Takeaways
- Installing recessed lighting requires careful layout planning with fixtures spaced 4–6 feet apart for ambient lighting, positioned between ceiling joists to avoid structural conflicts.
- IC-rated recessed light fixtures are essential for insulated ceilings, while non-IC models need 3 inches of clearance to prevent overheating and safety hazards.
- Turn off power at the breaker and verify it’s off with a voltage tester before touching any wiring, and double-check all wire connections before restoring power.
- Run electrical cable with proper support—staples within 12 inches of each box and every 4.5 feet—leaving 6–8 inches of wire at each fixture location for safe connections.
- Modern LED recessed lights draw only 10–15 watts each, so most can be added to existing 15-amp or 20-amp circuits without overload concerns.
- Remodel housing types simplify recessed lighting installation when attic access is limited, though they cost more than new construction housings that mount directly to joists.
Planning Your Recessed Lighting Layout
Layout determines whether your lighting looks intentional or haphazard. Start by identifying the room’s purpose and existing light sources. General ambient lighting typically uses fixtures spaced 4 to 6 feet apart, while task lighting over counters or desks can go as close as 3 feet apart.
Measure ceiling joist locations using a stud finder. Joists run perpendicular to the floor joists below and are typically spaced 16 or 24 inches on center. Your fixtures need to fit between these joists unless you’re using remodel housings designed to mount directly to drywall with integrated clips.
Account for insulation contact (IC) ratings if your ceiling is insulated. IC-rated fixtures can touch insulation safely: non-IC cans require 3 inches of clearance on all sides to prevent overheating. Check the attic or crawl space before buying fixtures.
Draw a ceiling plan on graph paper. Mark joist locations, then position lights to avoid structural conflicts. Keep fixtures at least 12 inches from walls for even wash and avoid placing them directly over where furniture will sit. 6 inch recessed lights work well for most residential applications, providing ample light spread without overwhelming smaller rooms.
Tools and Materials You’ll Need
Gather everything before starting to avoid mid-project hardware store runs.
Tools:
- Stud finder (electronic models show joist direction)
- Drywall saw or hole saw sized to your fixture (usually 4, 5, or 6 inches)
- Drill with paddle bits and screwdriver bits
- Wire strippers and needle-nose pliers
- Voltage tester (non-contact type for safety)
- Fish tape or flexible drill bit (for running wire)
- Ladder or scaffolding rated for your weight plus tools
- Safety glasses and dust mask
Materials:
- Recessed light housings (IC-rated if insulated ceiling)
- LED retrofit trim kits or integrated LED fixtures
- 14/2 or 12/2 NM-B cable (Romex), depending on circuit amperage
- Wire nuts (yellow for 14-gauge, red for 12-gauge)
- Junction box if splitting from existing circuit
- Cable staples and clamps
- Wire connectors and electrical tape
Choose between new construction housings (metal cans nailed to joists) or remodel housings (clips grab drywall). Remodel types simplify installation when attic access is limited but cost slightly more.
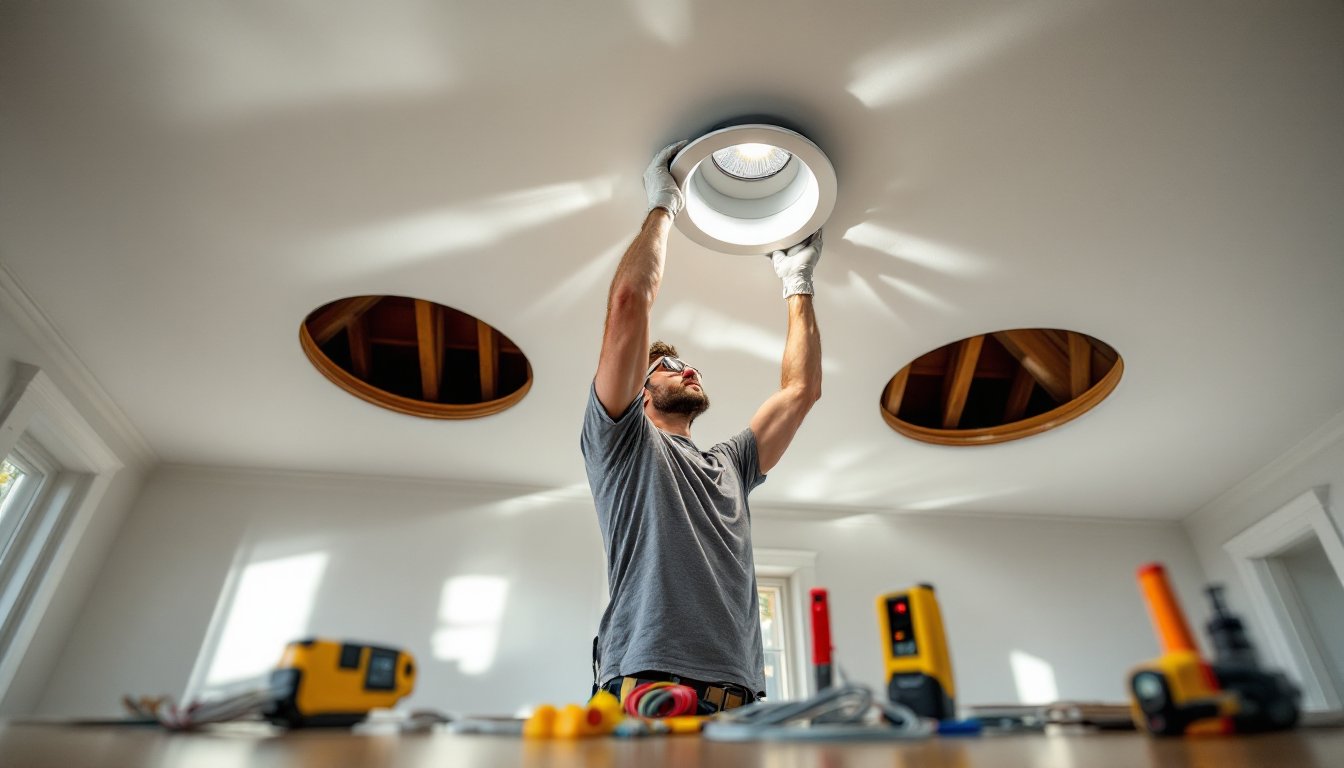
Cutting the Ceiling Holes
Turn off power at the breaker panel and verify it’s off with a voltage tester before touching any wiring. Label the breaker so no one flips it back on mid-project.
Mark ceiling locations using your layout plan. Use a template (often included with fixtures) or trace the housing’s outer diameter. For retrofit cans, the template shows the cutout diameter, not the finished trim size.
Drill a small pilot hole at the center of each mark, then use a bent wire or coat hanger to probe for obstructions, joists, ductwork, or existing wiring. If you hit something solid, shift the location a few inches and test again.
Cut along the marked circle using a drywall saw or appropriately sized hole saw. A hole saw is faster and cleaner but creates more dust: wear a mask and eye protection. Drywall saws give more control in tight spots. Save the cutout piece, you’ll need it if you misplace a hole and need to patch.
For vaulted or cathedral ceilings, specialized housings accommodate the angled joists and require careful measurement to ensure level trim installation. Sloped ceiling fixtures have adjustable sockets to keep the bulb or trim pointing straight down even though the ceiling angle.
Running Electrical Wire Safely
This section assumes basic electrical competency. If you’re uncomfortable working with live circuits or your jurisdiction requires a licensed electrician, stop here and call a professional.
Determine your power source. Tapping an existing ceiling fixture is common, but verify the circuit isn’t already maxed out. A standard 15-amp circuit (14-gauge wire) supports about 1,440 watts: a 20-amp circuit (12-gauge) handles 1,920 watts. Modern LED recessed lights draw 10 to 15 watts each, so you can add many fixtures to an existing circuit safely.
Run NM-B cable (Romex) from the power source to each fixture location. If you have attic access, drill holes through the top plates above the wall and snake wire across the attic to each ceiling hole. Keep cable at least 1.25 inches from the edge of joists: if closer, use nail plates to protect against accidental puncture.
Secure cable with staples within 12 inches of each box and every 4.5 feet along runs. Leave 6 to 8 inches of wire extending through each ceiling hole for connections, you can always trim excess, but short wires are frustrating to work with.
For installations without attic access, fish wire through the ceiling cavity using fish tape. Cut access holes where walls meet the ceiling if necessary, then patch them with drywall compound after wiring is complete. Many DIYers find this the hardest part: professional guides offer alternative routing strategies for tricky spaces.
Installing the Recessed Light Fixtures
New construction housings mount directly to ceiling joists. Position the can between joists, extend the adjustable bars until they reach the framing, then nail or screw through the mounting tabs into the joist faces. The bottom of the housing should sit flush with the drywall below.
Remodel housings install from below through the ceiling holes. Push the housing up into the cavity, then tighten the integrated clips or screws. These clips expand and grip the back side of the drywall, holding the fixture in place without access to framing. Check that the housing sits snug and doesn’t rattle when touched.
Ensure each fixture is level before finalizing attachment. Even slight tilts become obvious once trim rings are installed. Use a small torpedo level across the housing opening to check.
Thread the electrical cable through the built-in cable clamp on the housing. Most have a knockout that you remove with pliers and a screwdriver. Secure the cable with the clamp’s locknut, 1/4 inch of sheathing should extend into the housing, with individual wires exposed for connection.
For rooms like living spaces where aesthetics matter, choosing the right fixture size makes a difference: recessed lights sized for living rooms balance light output with visual proportion, avoiding an industrial or over-lit feel.
Wiring and Connecting Your Lights
Inside each housing, you’ll find a junction box or built-in terminal block with three wires: black (hot), white (neutral), and green or bare copper (ground).
Strip 1/2 to 3/4 inch of insulation from each wire end using wire strippers. Don’t nick the copper: damaged wire can overheat or break.
Connect wires using the following color matches:
- Black to black (hot)
- White to white (neutral)
- Green or bare copper to bare copper (ground)
Twist wire ends together clockwise using pliers, then thread a wire nut over the connection and twist clockwise until tight. Tug each wire gently, if it pulls out, the connection isn’t secure. Wrap electrical tape around the base of the wire nut for extra protection.
If daisy-chaining multiple fixtures, you’ll have two sets of cable entering most housings (one in, one out). Pigtail all like-colored wires together with a short jumper to the fixture. For example, twist both black circuit wires with a 6-inch black jumper, cap with a wire nut, and connect the jumper to the fixture’s black lead.
Push excess wire back into the junction box carefully, don’t crush or kink the connections. Secure the box cover if present.
Double-check every connection before restoring power. Experienced electricians and DIYers alike follow this step religiously: a loose neutral or ground causes arcing, overheating, and potential fire.
Conclusion
Once wiring is complete, install the trim rings or integrated LED modules per manufacturer instructions, most snap or twist-lock into the housing. Restore power at the breaker and test each fixture. If a light doesn’t turn on, shut off the breaker again and recheck connections at that fixture and upstream.
Recessed lighting adds value and modern appeal to any room. The installation challenges attic access and wiring logistics more than technical skill. Take your time on layout and wire routing, and you’ll end up with professional-looking results. If at any point you’re uncertain about electrical code compliance or safe practices, consult a licensed electrician, some mistakes aren’t worth the savings.


