Table of Contents
ToggleA deck without lighting is just a daylight-only platform. Once the sun sets, that beautiful outdoor space goes dark, unless you’ve got a proper low-voltage lighting system in place. At the heart of any Trex deck lighting setup is the transformer, a device that steps down standard 120V household current to a safer 12V or 24V for LED fixtures. Understanding how these transformers work, how to size them correctly, and how to install them properly means the difference between a deck that glows reliably for years and one that flickers out after a single season.
Key Takeaways
- A Trex deck lighting transformer converts 120V household power to safe 12V or 24V DC for LED fixtures, preventing shock and fire hazards while enabling reliable outdoor illumination.
- Accurately calculate total fixture wattage and size your transformer at 80% maximum load capacity—for example, a 118W lighting system requires at least a 200W transformer with built-in headroom for safety and longevity.
- Mount the transformer close to your lighting start point on a solid backing with a GFCI-protected outlet, use appropriately gauged wire (12-gauge for runs over 50 feet), and test voltage at the farthest fixture to ensure it stays within 10% of output.
- Trex transformers feature weatherproof IP65+ enclosures, integrated photocells for automatic dusk-to-dawn operation, and some models include Wi-Fi connectivity for app-based zone control and scheduling.
- Maintain your transformer annually by cleaning vents, inspecting wire connections for corrosion, testing the photocell, and checking voltage output to extend its lifespan and prevent fixture damage.
- Troubleshoot common issues like flickering lights by measuring voltage drop with a multimeter, and resolve persistent problems by isolating zones one at a time or upgrading wire gauge if drops exceed 10%.
What Is a Trex Deck Lighting Transformer and Why Do You Need One?
A Trex deck lighting transformer converts your home’s 120-volt AC power into low-voltage DC power, typically 12V or 24V, to safely operate LED deck lights. These transformers are specifically designed for outdoor use, with weatherproof housings rated for exterior installation.
You can’t just plug deck lights directly into a standard outlet. Running 120V through thin fixture wires creates a serious shock and fire hazard. Low-voltage systems reduce that risk dramatically, which is why most building codes and manufacturers require transformers for deck and landscape lighting.
Trex-branded transformers are engineered to pair with their proprietary lighting fixtures, though many work with third-party low-voltage LED lights as well. They include built-in timers, photocells, and sometimes Wi-Fi connectivity for app control, features that separate them from basic landscape transformers you’d find at a big-box store.
If you’re installing a multi-zone lighting system with post caps, riser lights, and under-rail strips, a transformer with multiple output terminals and zone control gives you the flexibility to adjust brightness and timing independently. That’s essential for creating layered lighting effects without running separate circuits.
Key Features of Trex Deck Lighting Transformers
Trex offers transformers in 100W, 200W, and 300W capacities, each designed for different project scales. The wattage rating dictates how many fixtures you can safely run on a single transformer.
Most models include an integrated photocell, which automatically turns lights on at dusk and off at dawn. This eliminates the need for manual operation and saves energy. Some units add a programmable timer so you can set custom on/off schedules, handy if you want lights to shut down at midnight instead of running until sunrise.
Higher-end Trex transformers feature Wi-Fi connectivity and work with smartphone apps for remote control and scheduling. This is overkill for a simple staircase railing, but useful for larger decks where you want to adjust zones from inside the house.
Weatherproof enclosures rated IP65 or higher protect internal components from rain, snow, and humidity. Look for models with stainless steel or powder-coated aluminum housings, plastic cases can crack in freezing temps.
Most Trex transformers output 12V DC, though a few models support 24V for longer wire runs with less voltage drop. If your deck exceeds 100 feet in any direction, a 24V system maintains consistent brightness better than 12V.
Choosing the Right Transformer Size for Your Deck
Start by adding up the wattage of every fixture in your lighting plan. A typical Trex post cap light draws 1–3 watts, riser lights pull about 0.5–1 watt, and under-rail strip lights consume roughly 2–4 watts per foot.
For example, if you’re lighting a 12×16-foot deck with eight post caps (2W each), twelve riser lights (1W each), and 30 feet of under-rail strips (3W per foot), your total load is:
- Post caps: 8 × 2W = 16W
- Risers: 12 × 1W = 12W
- Strips: 30 × 3W = 90W
- Total: 118W
You’d need at least a 200W transformer to handle this load with headroom. Never run a transformer at 100% capacity, aim for 80% maximum load to prevent overheating and extend component life. That 118W load sits comfortably at 59% of a 200W transformer’s capacity.
If you plan to expand your lighting later, size up now. Adding fixtures to a maxed-out transformer means buying a second unit or replacing the original, both options cost more than starting with a larger model.
For decks over 500 square feet or systems with multiple zones, consider a 300W transformer with multiple output terminals. This allows you to split the load across separate circuits, reducing voltage drop and giving you independent zone control.
How to Install a Trex Deck Lighting Transformer
Mount the transformer as close as possible to the lighting start point to minimize voltage drop. Most Trex transformers are designed for vertical wall mounting on the house, garage, or a dedicated post. Keep it at least 12 inches above grade to prevent water pooling around the base.
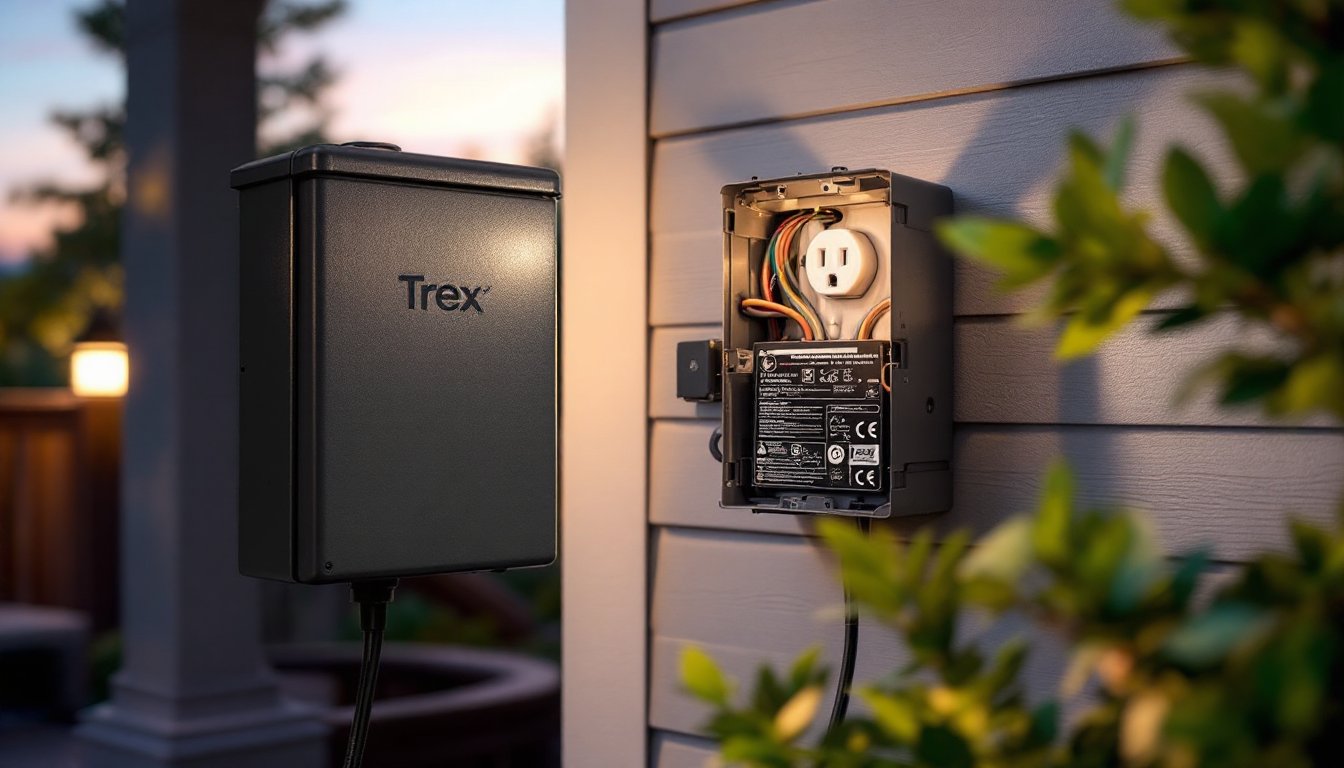
You’ll need a 120V GFCI-protected outlet to power the transformer. If there isn’t one nearby, hire an electrician to install a weatherproof receptacle, this work typically requires a permit and must meet NEC Article 210.8 for outdoor GFCI protection. Don’t skip this step: a non-GFCI circuit can be a code violation and a safety hazard.
Run 12-gauge or 14-gauge low-voltage wire from the transformer to your fixtures, following the manufacturer’s wire gauge chart. Trex recommends 12-gauge for runs over 50 feet to reduce voltage drop. Bury wires at least 6 inches deep if crossing under the deck or yard, and use conduit where wires are exposed to foot traffic or lawnmower damage.
Leave a service loop (6–12 inches of extra wire) at the transformer and at each fixture connection. This makes future repairs easier and prevents tension on terminals.
Mounting and Wiring Best Practices
Secure the transformer with corrosion-resistant screws into solid backing, drywall anchors won’t hold up outdoors. If mounting to vinyl siding, attach a piece of ½-inch exterior plywood behind the siding first, or use a dedicated mounting block.
Strip wire ends cleanly with a proper wire stripper, not a utility knife. Ragged strands cause poor contact and heat buildup. Twist stranded wires clockwise before inserting into screw terminals, and tighten each terminal until the wire resists a firm tug.
If the transformer has multiple output zones, balance the load evenly. Don’t put all high-draw fixtures on one zone and low-draw on another, this creates uneven voltage drop. Many smart home automation guides recommend grouping zones by function (post caps, risers, accents) rather than by circuit proximity.
Always connect the common (negative) wire first, then the positive leads. This reduces the chance of accidental shorts during installation.
Once wired, plug in the transformer and test each zone before securing fixtures permanently. Walk the deck with a voltmeter and check that voltage at the farthest fixture reads within 10% of the transformer output. If you’re seeing 10.5V or lower on a 12V system, you’ve got excessive voltage drop, either shorten the run, increase wire gauge, or add a second transformer.
Troubleshooting Common Transformer Issues
Lights won’t turn on: Check that the transformer is plugged in and the GFCI hasn’t tripped. Reset the GFCI and confirm the outlet has power with a voltage tester. If the photocell is enabled, cover it with your hand to simulate darkness and see if lights activate.
Lights flicker or dim: This usually means voltage drop from undersized wire or too many fixtures on one run. Use a multimeter to measure voltage at the transformer output and at the last fixture. If the drop exceeds 10%, either reduce the number of fixtures on that circuit or upgrade to heavier-gauge wire.
Timer or photocell not working: Many transformers have manual override switches that disable automatic functions. Check the control panel and reset any timers or photocell settings. If the photocell sensor is dirty or obstructed, it won’t detect ambient light properly, wipe it clean with a damp cloth.
Transformer hums or buzzes: A faint hum is normal under load. Loud buzzing indicates loose internal components or a failing transformer. Unplug the unit, let it cool, and inspect all wire connections. If buzzing persists, the transformer may need replacement.
Breaker trips when plugging in: This signals a short circuit or ground fault. Disconnect all fixture wires from the transformer and plug it in alone. If it still trips, the transformer itself is faulty. If it doesn’t trip, reconnect fixtures one zone at a time to isolate the short. When planning electrical work, detailed DIY tutorials often walk through systematic troubleshooting steps like these.
Maintenance Tips to Extend Transformer Life
Clean the enclosure twice a year, spring and fall. Dust, leaves, and spiderwebs can clog ventilation slots and cause overheating. Use a dry brush or compressed air to clear vents.
Inspect wire connections annually. Corrosion on screw terminals creates resistance and heat. If you see green or white buildup, disconnect power, remove the wire, scrub the terminal with a wire brush, and apply dielectric grease before reconnecting.
Test the photocell and timer at the start of each outdoor season. Cover the photocell sensor to force lights on during daylight, then uncover it to confirm automatic shutoff. Reprogram timers if you’ve changed time zones or if daylight saving shifts have thrown off your schedule.
Check voltage output with a multimeter once a year. Transformers can degrade over time, and a unit rated for 12V might only deliver 11V after several seasons. If output drops below spec, replace the transformer before it damages fixtures.
Protect from snow and ice buildup in winter climates. While the enclosure is weatherproof, heavy snow can block vents or damage the housing. Gently brush off accumulation and ensure the unit isn’t buried under a snowbank.
If you’re using smart home devices integrated with your lighting system, update firmware periodically to maintain compatibility and security. Trex’s Wi-Fi-enabled transformers receive occasional updates that improve timer accuracy and add new features.
Unplug the transformer during extended periods of non-use, such as winter months when the deck is off-limits. This prevents phantom power draw and protects the unit from power surges during storms.


